Using AI to turn your terms, policies, and service documents into a simple client FAQ chatbot you embed on your website without a developer
How to add an AI chatbot to your website without coding — turn your existing policies and documents into a live FAQ bot in under an hour.
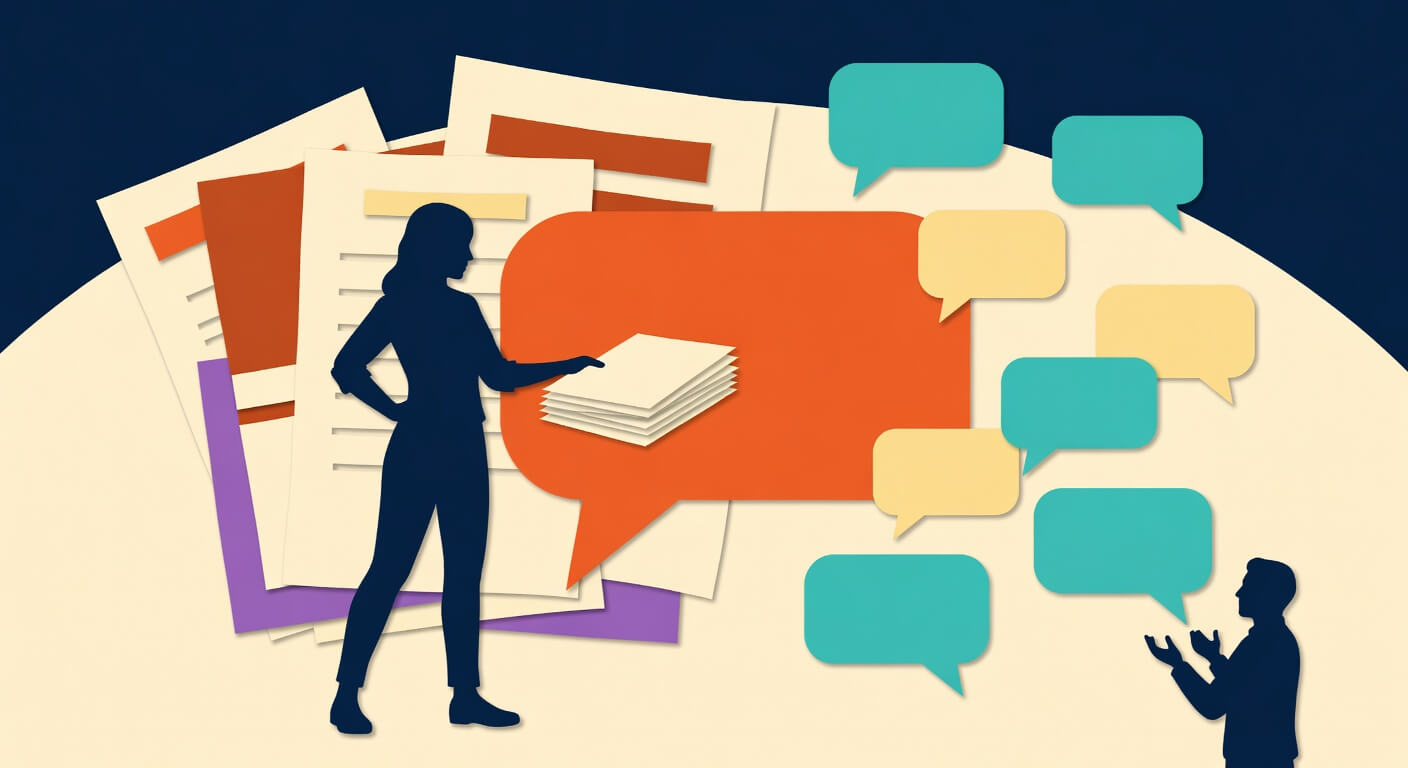
You know that moment when a potential client emails you at 9pm asking "what's your cancellation policy?" — and you already answered that in your service agreement, your website footer, and the welcome email you sent them three weeks ago? Yeah. That moment. This post shows you how to add an AI chatbot to your website without coding — turning the documents you already have (your terms, policies, onboarding guides, fee schedules) into a chatbot that answers those questions automatically, any time of day. And if you can copy and paste a link, you can build this.
What you need before you start
Chatbase{:target="_blank"} — a tool that reads your documents and turns them into a working chatbot powered by GPT-4o; no coding required, no developer needed. Your existing documents — PDFs, Word docs, or even a URL to a page on your website (your FAQ page, your services page, your policies page). Time required: About 45 minutes for your first bot, less if your documents are already well-organized. Skill level: If you've ever uploaded a file to Google Drive or copy-pasted something into a website, you've got everything you need.
Getting Your Documents Ready to Train a Chatbot on Your Own Business Files
This is the step most people skip — and it's why their chatbot gives weird, vague answers. The quality of what goes in determines the quality of what comes out.
Gather your core documents. Think: service agreement, onboarding guide, pricing/fee schedule, cancellation policy, refund policy, "how we work" page. These are the things clients ask about most.
Check that your PDFs are actual text, not scanned images. Open the PDF, try to highlight and copy a sentence. If you can't select the text, the chatbot can't read it either — it'll just see a picture of words. If that's the case, retype the key sections into a simple Word document or Google Doc instead.
Add a list of real questions you've actually heard from clients. Don't overthink this. Just jot down 10–15 questions people ask you all the time — "Do you require a deposit?", "What happens if I need to cancel?" — and write the answers below each one. Save that as a plain text or Word doc. This step alone dramatically improves how accurate your bot will be.
Keep an eye on size, but don't stress. A 20-page service agreement is roughly 60,000–80,000 characters, which fits comfortably even within Chatbase's free tier (400,000 characters). You've got room.
Once your documents are in order, you're ready to build. This part goes faster than you'd expect.
How to Add an AI Chatbot to Your Website Using Chatbase
Go to Chatbase{:target="_blank"} and create a free account. You'll land on a dashboard with a big button that says "Create Chatbot." Click that.
Upload your documents. You can drag and drop PDFs or Word docs, paste in plain text, or add a URL — Chatbase will scrape the page content. Add everything you gathered in the previous section.
Click "Create Chatbot." Chatbase will chew through your documents and build the bot. It usually takes under two minutes. When it's done, you'll see a chat interface where you can test it immediately.
Set your system instructions. This is the step that separates a useful bot from a frustrating one. In the Chatbase dashboard, find the "Instructions" or "Base Prompt" section. This is where you tell the bot who it is and what it should and shouldn't do.
Here's a starting template you can copy and paste directly — then edit it to fit your business:
You are a helpful assistant for [Your Business Name]. Your job is to answer questions about our services, policies, fees, and how we work, based only on the information provided to you. If a question falls outside what's covered in your documents, say: "I don't have that information, but you're welcome to contact us directly at [your email]." Do not guess or make up answers. Be friendly, clear, and brief.
That last line — "do not guess or make up answers" — is important. Without it, the bot might try to be helpful in ways you don't want, filling gaps with plausible-sounding information that isn't actually true for your business.
- Test it with your real questions. Type in the questions from your client list. Check the answers. If something's off, it usually means that topic isn't covered clearly in your documents — go add it and re-upload.
Embedding the Chatbot on Your Website
Here's where it feels like it should be harder than it is. It's not.
In your Chatbase dashboard, click "Embed." You'll see two options: a chat bubble (a little icon that floats in the corner of your site) or an iframe (a full chat window embedded directly into a page). For most small business websites, the chat bubble is the cleaner choice.
Copy the embed code snippet. It's a short chunk of code — looks like gibberish, but you don't need to understand it, just copy it.
Paste it into your website. How you do this depends on your platform:
- Squarespace or Wix: Go to your site settings, find "Custom Code" or "Footer Code," and paste the snippet there. It applies to every page automatically.
- WordPress: Use Chatbase's native WordPress integration, or paste the code into your footer using a plugin like "Insert Headers and Footers" — either way, no developer needed.
- Shopify: Use Chatbase's native Shopify integration, or paste the snippet into the "Theme Code" section under the
</body>tag in your theme editor.
Preview your site. You should see the chat bubble appear in the corner. Click it, ask it a question, and watch it work.
The whole embedding process takes under 10 minutes. Genuinely.
Making Your Bot Accurate: Testing and Guardrails
Don't skip testing. Spend 15 minutes pretending to be a confused new client and throwing every awkward question you can think of at the bot.
A few things to watch for and fix:
The bot gives a vague or "I'm not sure" answer to something that should be in your documents. This usually means the relevant information is buried in a section that isn't clearly labeled. Go back to your document, find that section, and rewrite it as a clear question-and-answer pair. Then re-upload.
The bot makes up something that isn't in your documents. Your system instructions should handle this, but if it's still happening, tighten the language: add "Only use information explicitly provided in your training documents. Do not infer or estimate." It sounds strict because it is — in a good way.
The bot sounds too stiff or too casual. Adjust the tone instructions in your base prompt. Something like "write in a warm, friendly tone, like a knowledgeable team member" goes a long way.
One more thing worth mentioning: if your business operates in the EU or serves EU customers, you'll need to note Chatbase as a third-party data processor in your privacy policy. Chatbase processes data through OpenAI's APIs under a data processing agreement — worth a one-line addition to your privacy page.
What to Do Next
Once your bot is live, watch the conversation logs in Chatbase for a week or two. The questions clients actually ask will tell you exactly what's missing from your documents — and adding those answers will make the bot noticeably more useful over time. It's a living tool, not a set-it-and-forget-it thing.
If you want to take this further, I wrote a walkthrough on building automated client onboarding sequences with AI that pairs well with this — your chatbot handles the "before they sign" questions, and the onboarding sequence handles everything after.
FAQ
Does the chatbot actually stay within my documents, or will it just make stuff up? Good question — this is the thing most people worry about first. As long as you set up your system instructions clearly (use the template above), the bot is designed to stick to what's in your documents and say "I don't have that information" when something falls outside them. No guardrail is perfect, so test it before you go live and check the conversation logs regularly.
Can I add an AI chatbot to a Squarespace, Wix, or WordPress website without a developer? Yes, all three. Chatbase{:target="_blank"} supports native integrations with WordPress, Wix, Squarespace, and Shopify. On Squarespace and Wix, you paste the embed code into your site's custom code or footer settings. On WordPress, you can use the native Chatbase integration or a simple helper plugin — either way, no developer required.
Is the free plan actually usable, or is it just a teaser? It's genuinely usable for a small business starting out. The free tier gives you one chatbot, 400,000 characters of training data, and 20 AI message credits per month. That's tight on messages if you have a busy website, but it's a real way to test whether this works for your situation before you pay anything. Paid plans start at $19/month if you need more.
What if my policies change — do I have to rebuild the whole chatbot? No. You just update your document and re-upload it to Chatbase. The bot retrains in minutes. Honestly, this is one of the better parts of the setup — keeping it current is much easier than keeping a static FAQ page updated.
Can the chatbot book appointments or take payments? Not on its own. These tools are answer-only by default — they can tell a client how your booking process works, but they can't actually do the booking. Connecting to something like Calendly{:target="_blank"} or a payment tool requires additional integrations that go beyond copy-paste setup. Worth knowing upfront so you're not disappointed when you test it.
Read Next
Using AI to build a simple client-facing chatbot for your service business that answers booking and pricing questions after hours without a developer
Customer ServiceHow to use AI to write a simple service guarantee or refund policy that builds trust with new customers without opening you up to abuse
Customer ServiceHow to use AI to write a simple price increase letter to existing clients so you don't lose them when you raise your rates